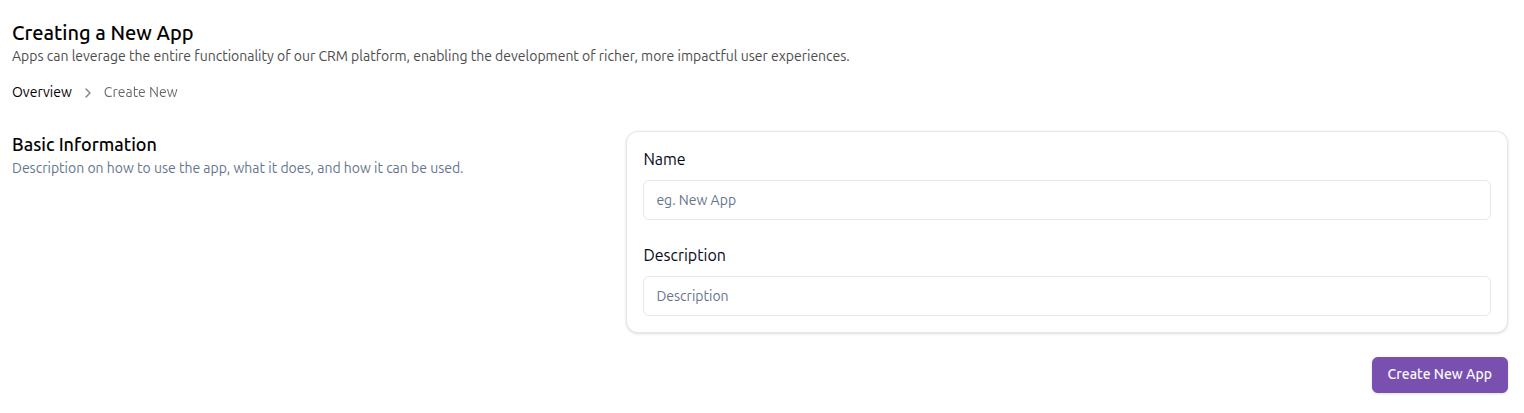
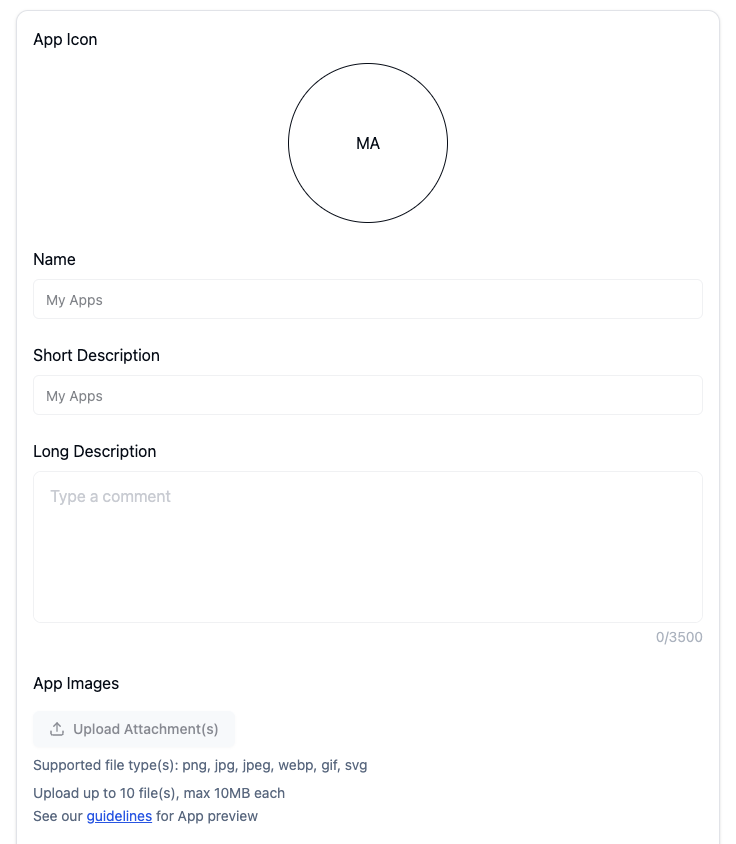
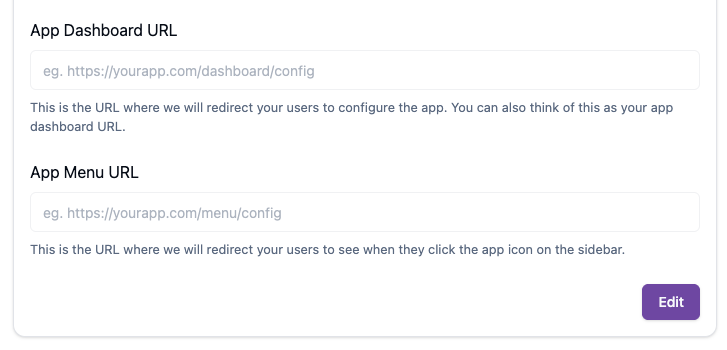
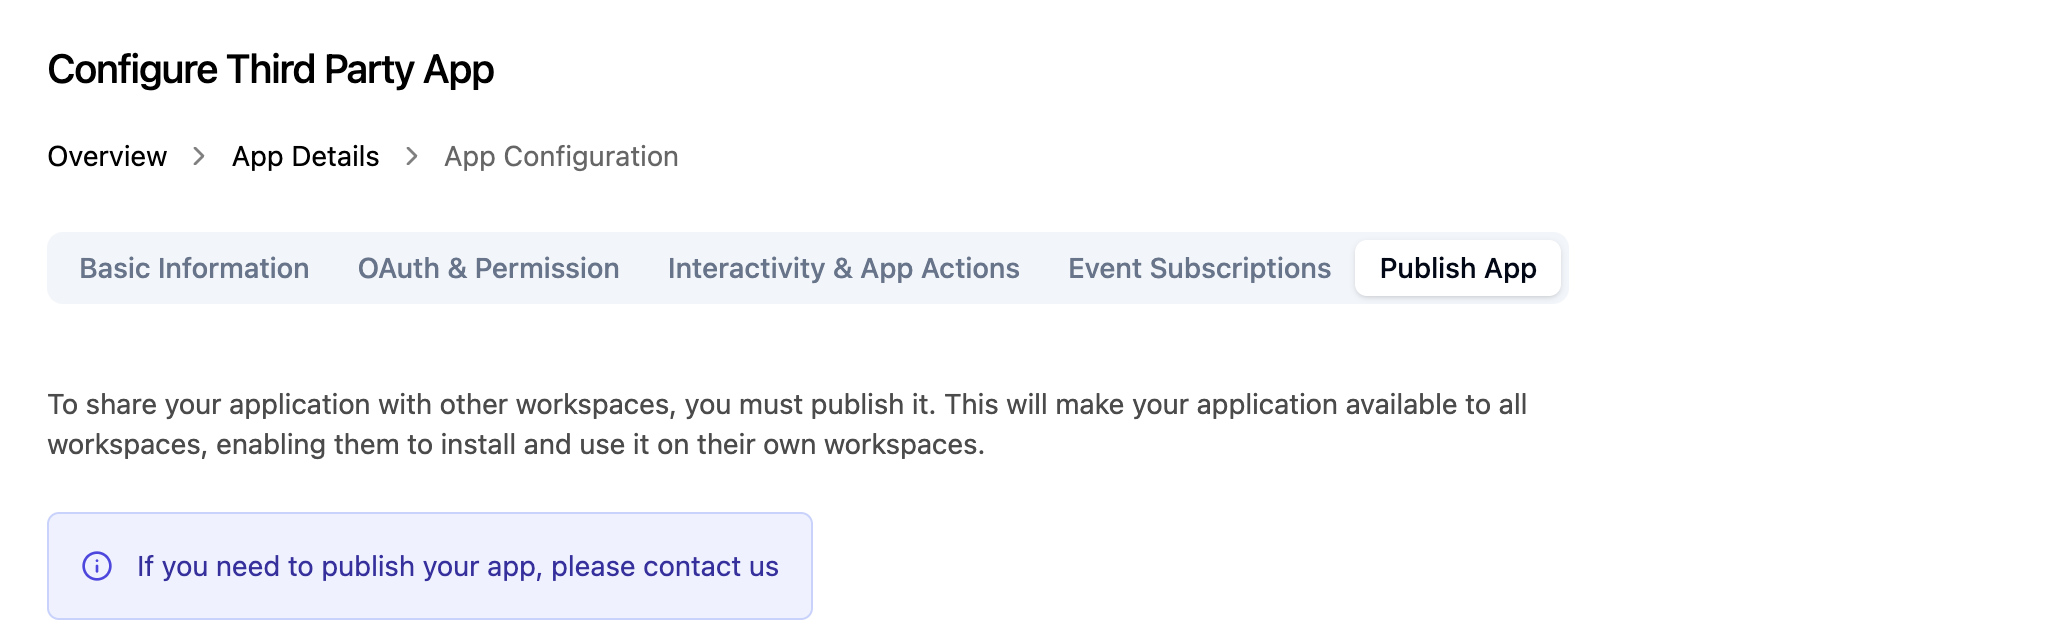
This document walks through creating and configuring a third-party app in the CRM Dashboard, step by step. Do this before writing any integration code - you need the credentials that Developer Configuration generates.
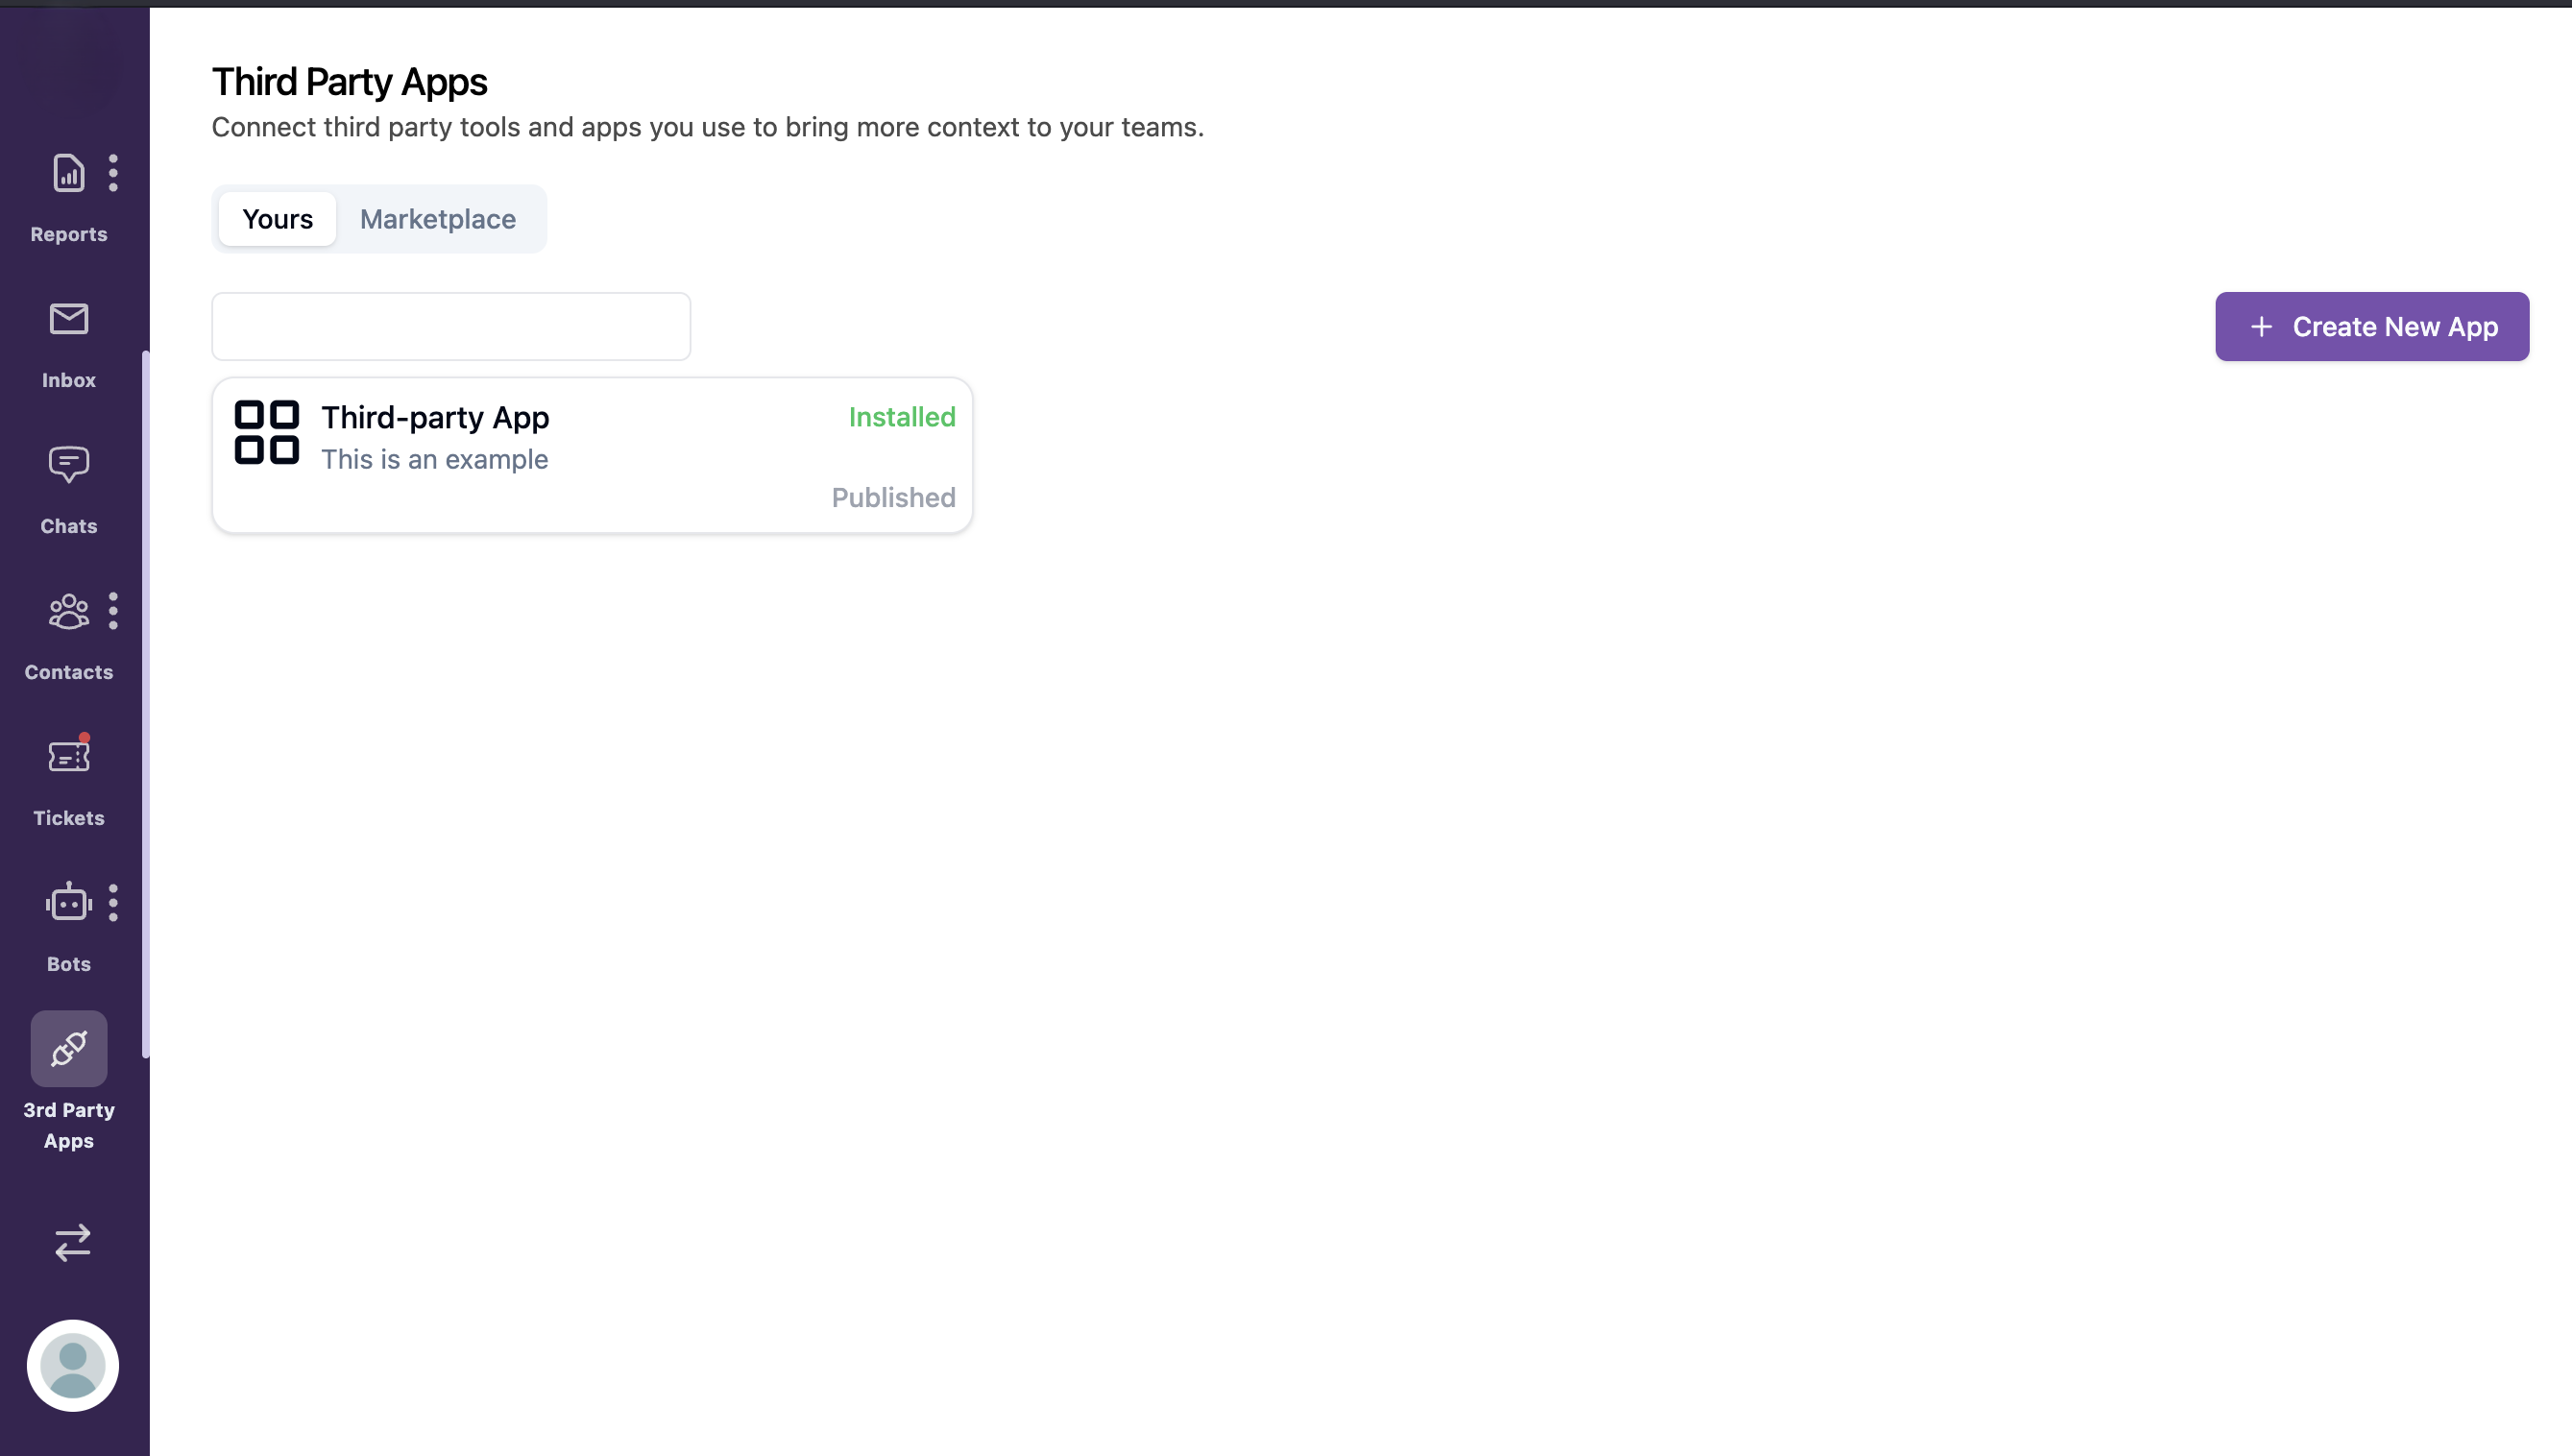
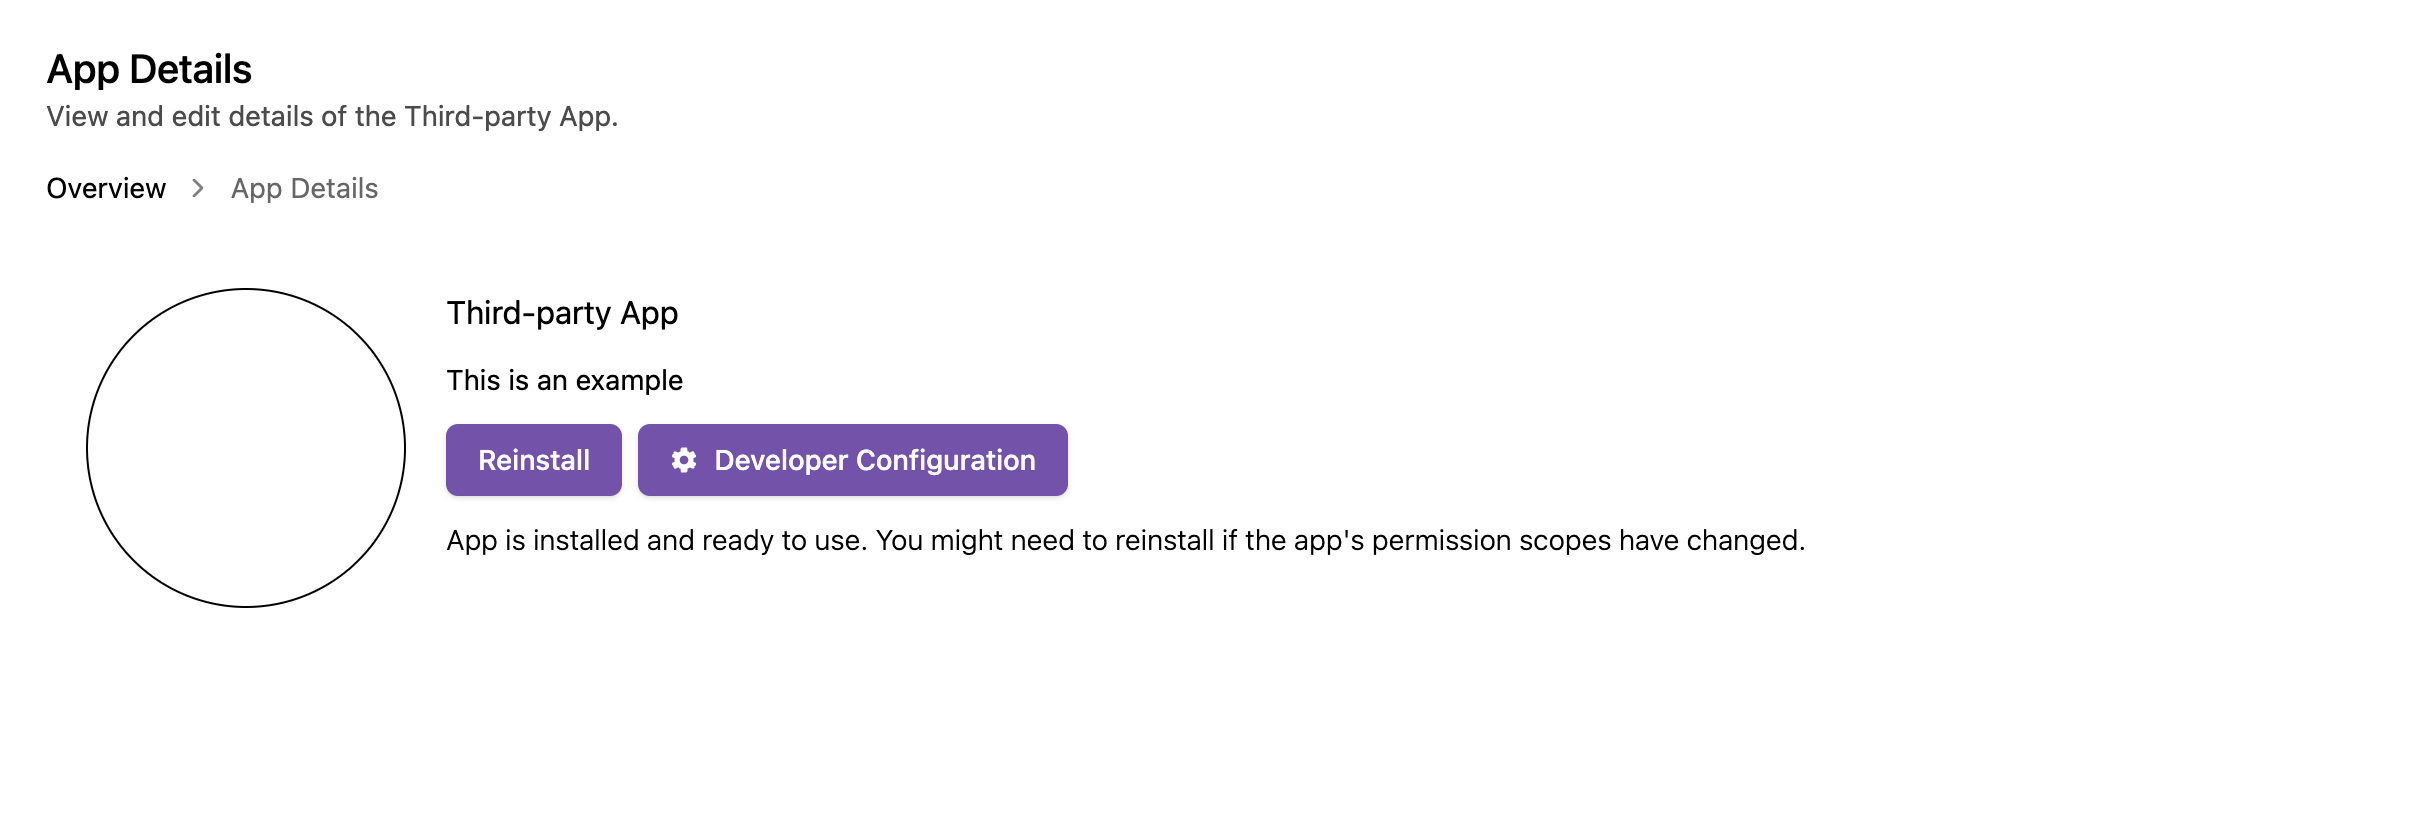
After creation, the app appears in your app list. Click the app to open its details page, then click "Developer Configuration" to open Developer Configuration.
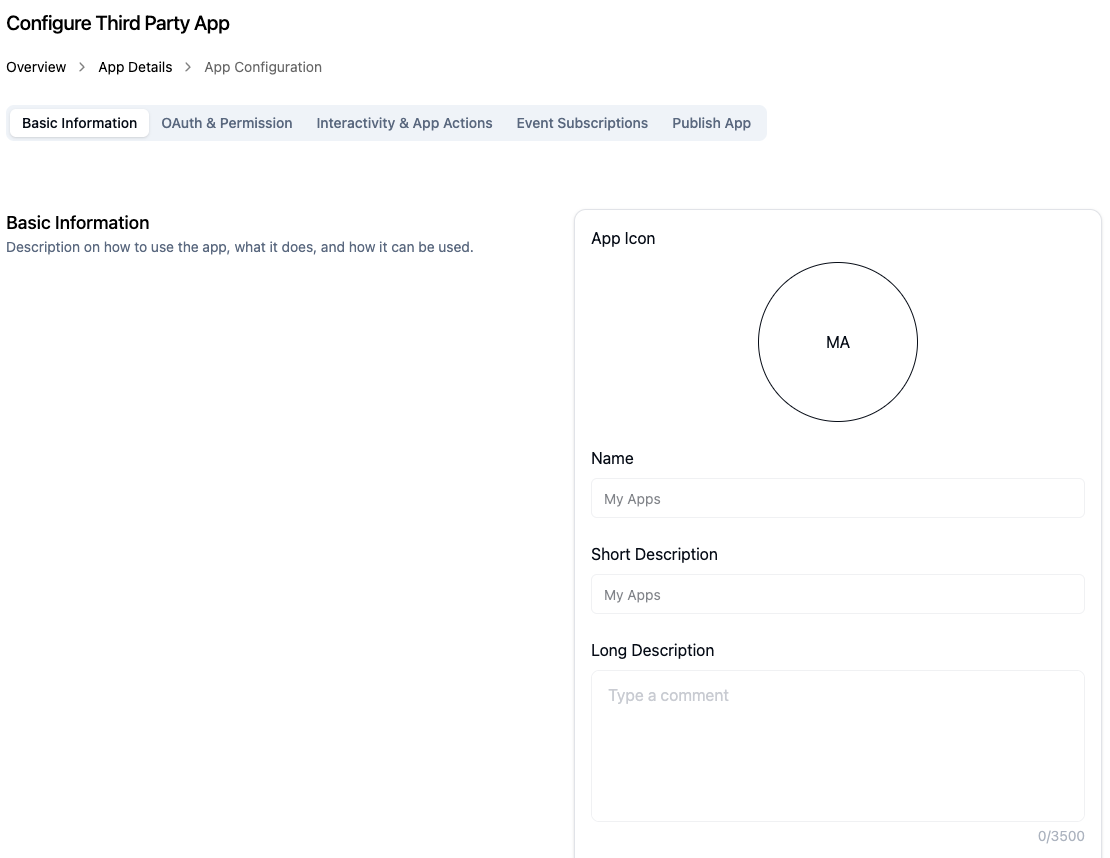
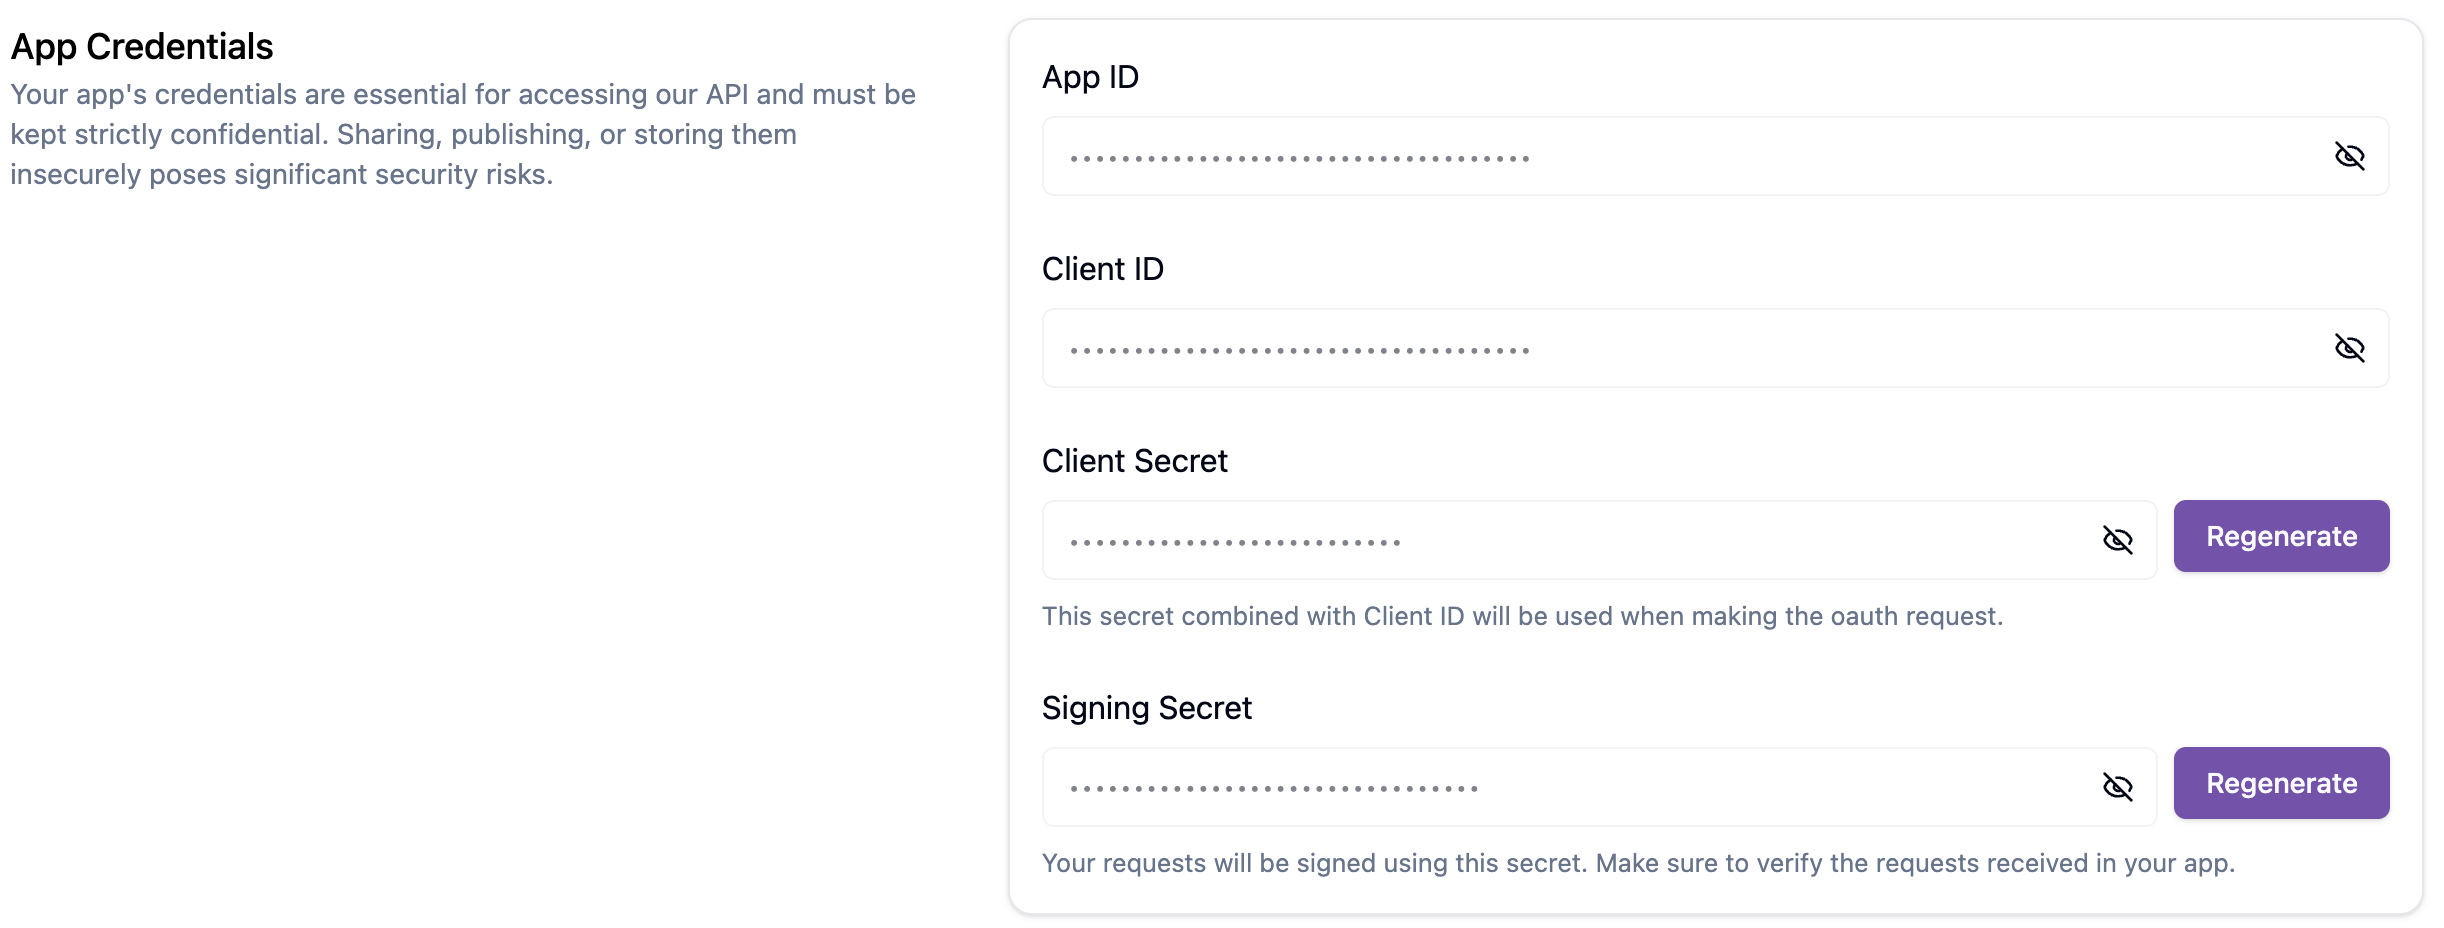
Still on the Basic Information tab, scroll to the App Credentials section. Developer Configuration generates and displays:
App ID - internal identifier (used in OAuth URL construction)
Client ID - your app's public OAuth identifier
Client Secret - your app's OAuth secret; never expose this client-side
Signing Secret - used to verify that incoming CRM webhooks are genuine
Copy all four values and store them in your backend environment variables (CRM_APP_ID, CRM_CLIENT_ID, CRM_CLIENT_SECRET, CRM_CLIENT_SIGNED_KEY).
Keep secrets secret. Never commit them to source control. Both Client Secret and Signing Secret have a Regenerate button, use it if either is compromised.
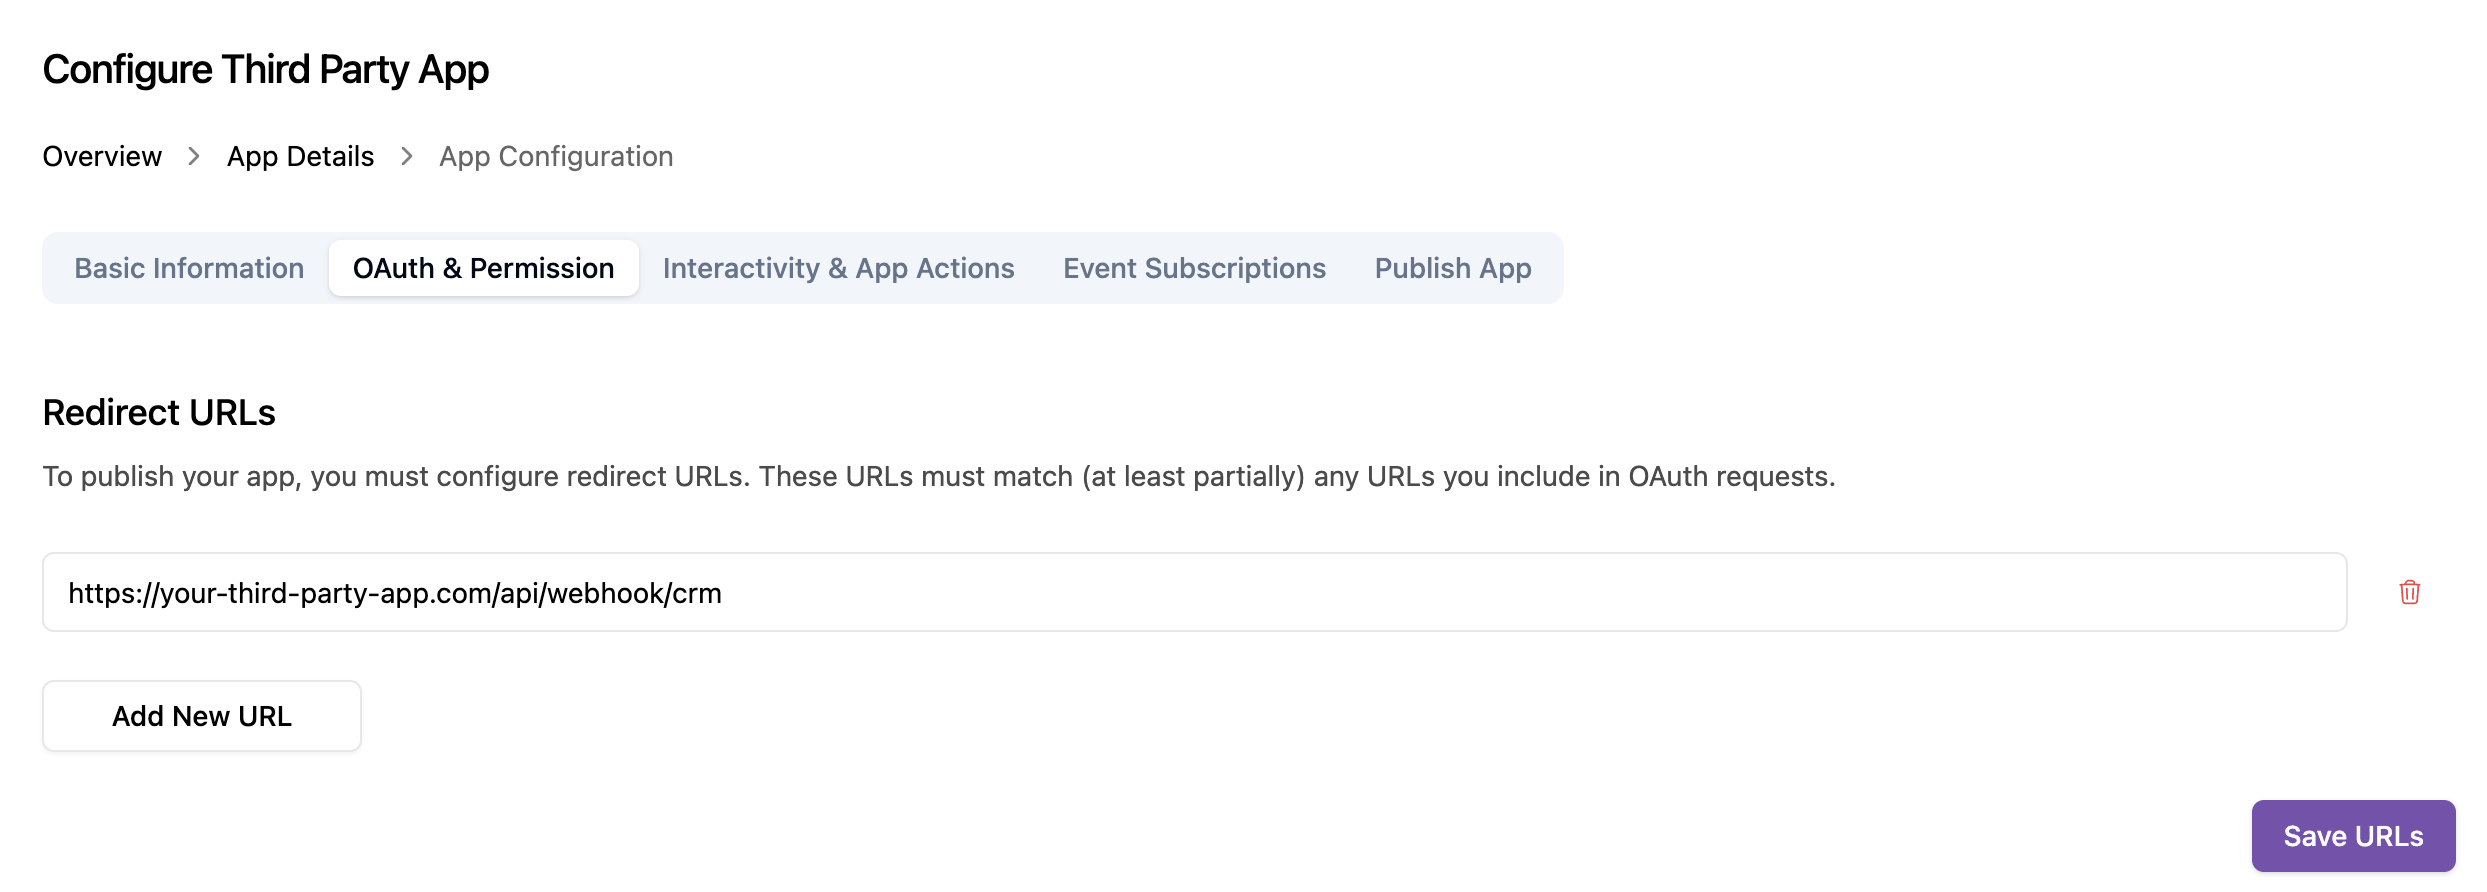
Redirect URLs are the HTTPS endpoints on your backend that the CRM will redirect the browser to after an admin authorizes your app. You must configure at least one before you can initiate OAuth flows.
Where to set it: your app → OAuth & Permission tab → Redirect URLs.
What to add:
https://your-3pa.app/oauth2/crm/callback
Or if you have a separate admin dashboard:
https://your-3pa-dashboard.app/oauth2/crm
Rules:
Must be a valid URL with a proper domain and TLD (e.g. https://your-app.com/callback).
localhost and bare IP addresses like 127.0.0.1cannot be registered. The form requires a real domain with a TLD. For local development, use a tunneling tool such as ngrok or Cloudflare Tunnel to expose your local server under a public domain, then register that tunneled URL.
Must exactly match the redirect_uri you pass when building the authorization URL.
You can register multiple URLs (e.g. your ngrok tunnel for local dev, staging, and production).
Wildcards are not supported - register each URL explicitly.
Note: The redirect_uri in the OAuth flow must exactly match one of the registered URLs. Any mismatch causes the OAuth flow to fail with an invalid_request error.
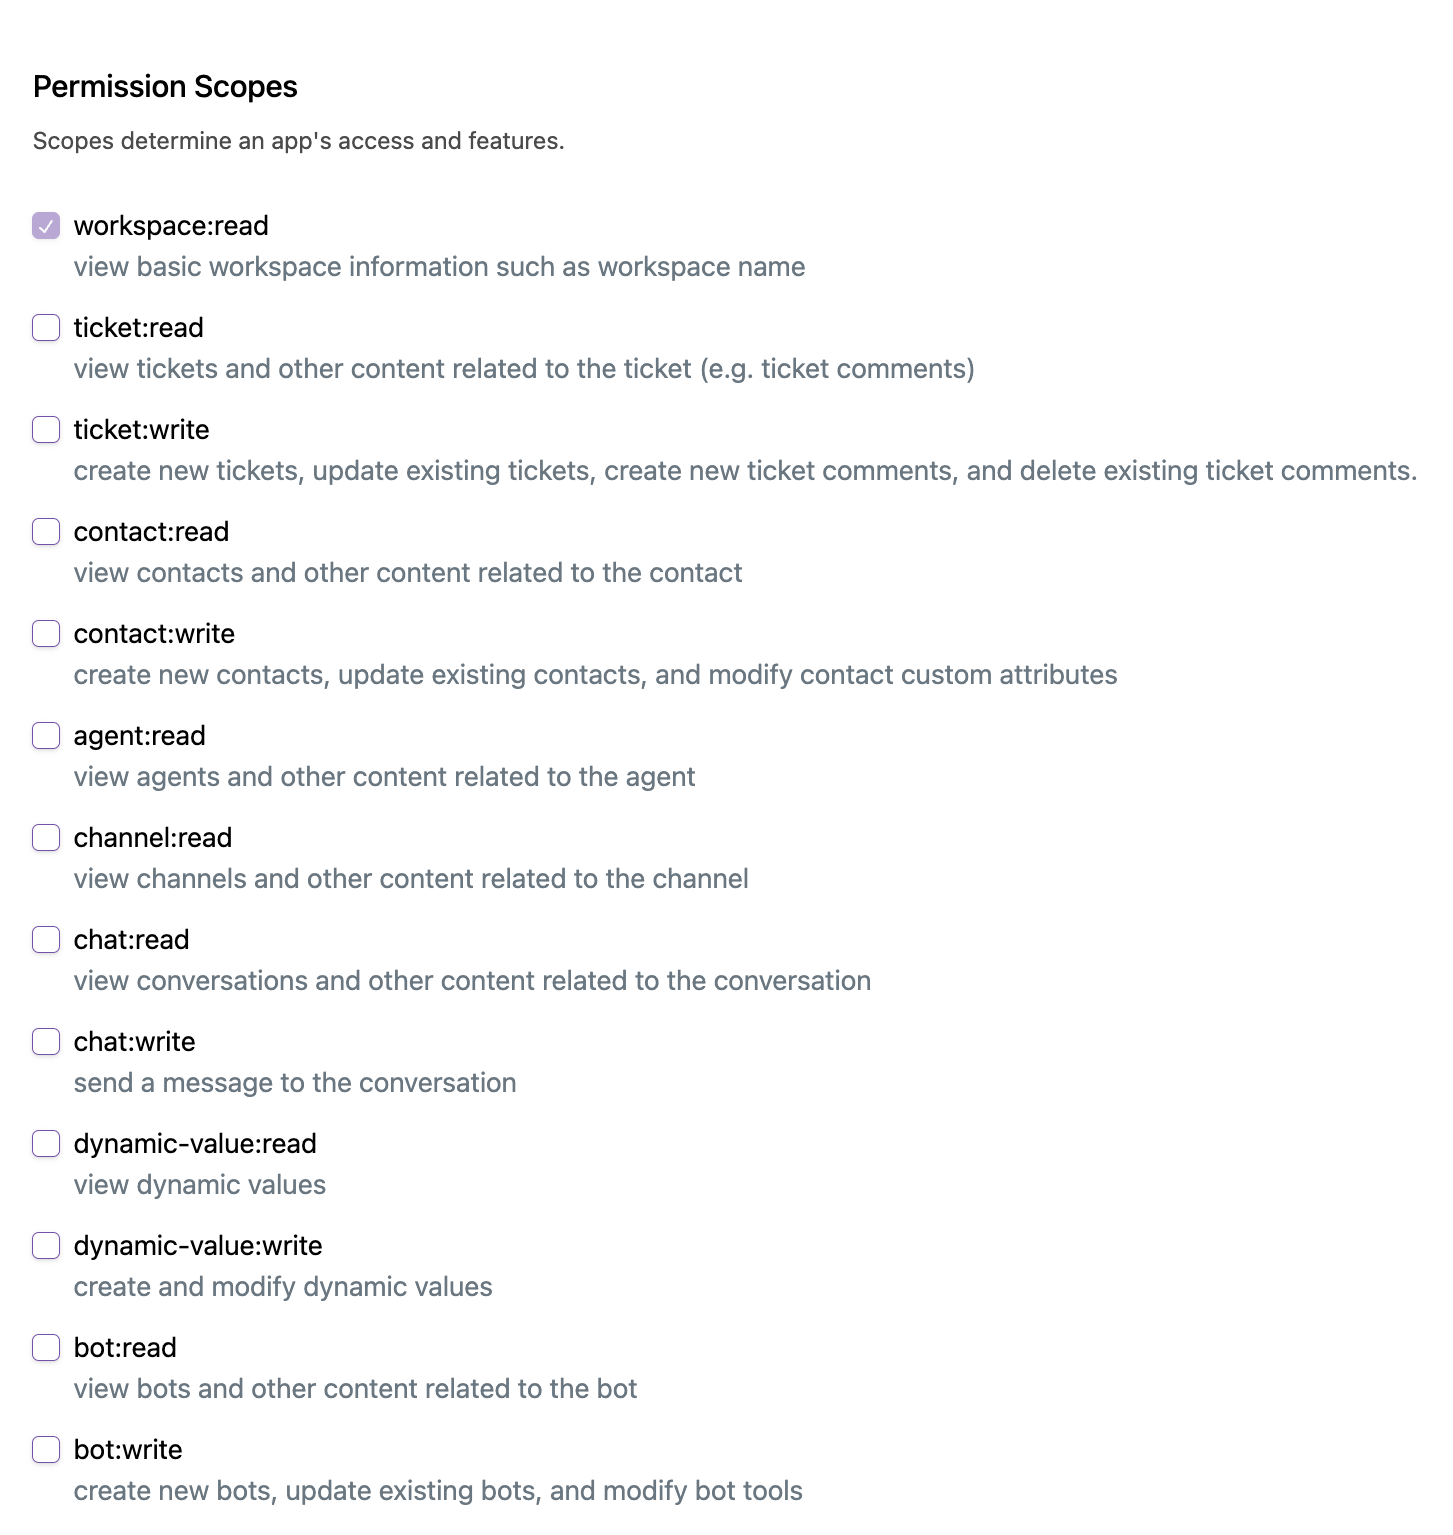
Scopes define what your app is allowed to do in a workspace. The admin sees these on the consent screen. Request only the scopes you actually need - over-requesting scopes reduces admin trust.
Where to set it: your app → OAuth & Permission tab → Permission Scopes.
To understand which scopes you actually need, you can check the OpenAPI specification, which will show you the available endpoints and their required scopes.
Which scopes you need depends on your integration type. See your integration guide for the list, for example, Customer Chat Integration covers the minimum scopes required for a chat channel third-party app.
When the admin clicks Install, they will see a consent screen listing your requested scopes in plain language. Only select scopes that are clearly necessary - admins regularly abandon installations that request excessive permissions.
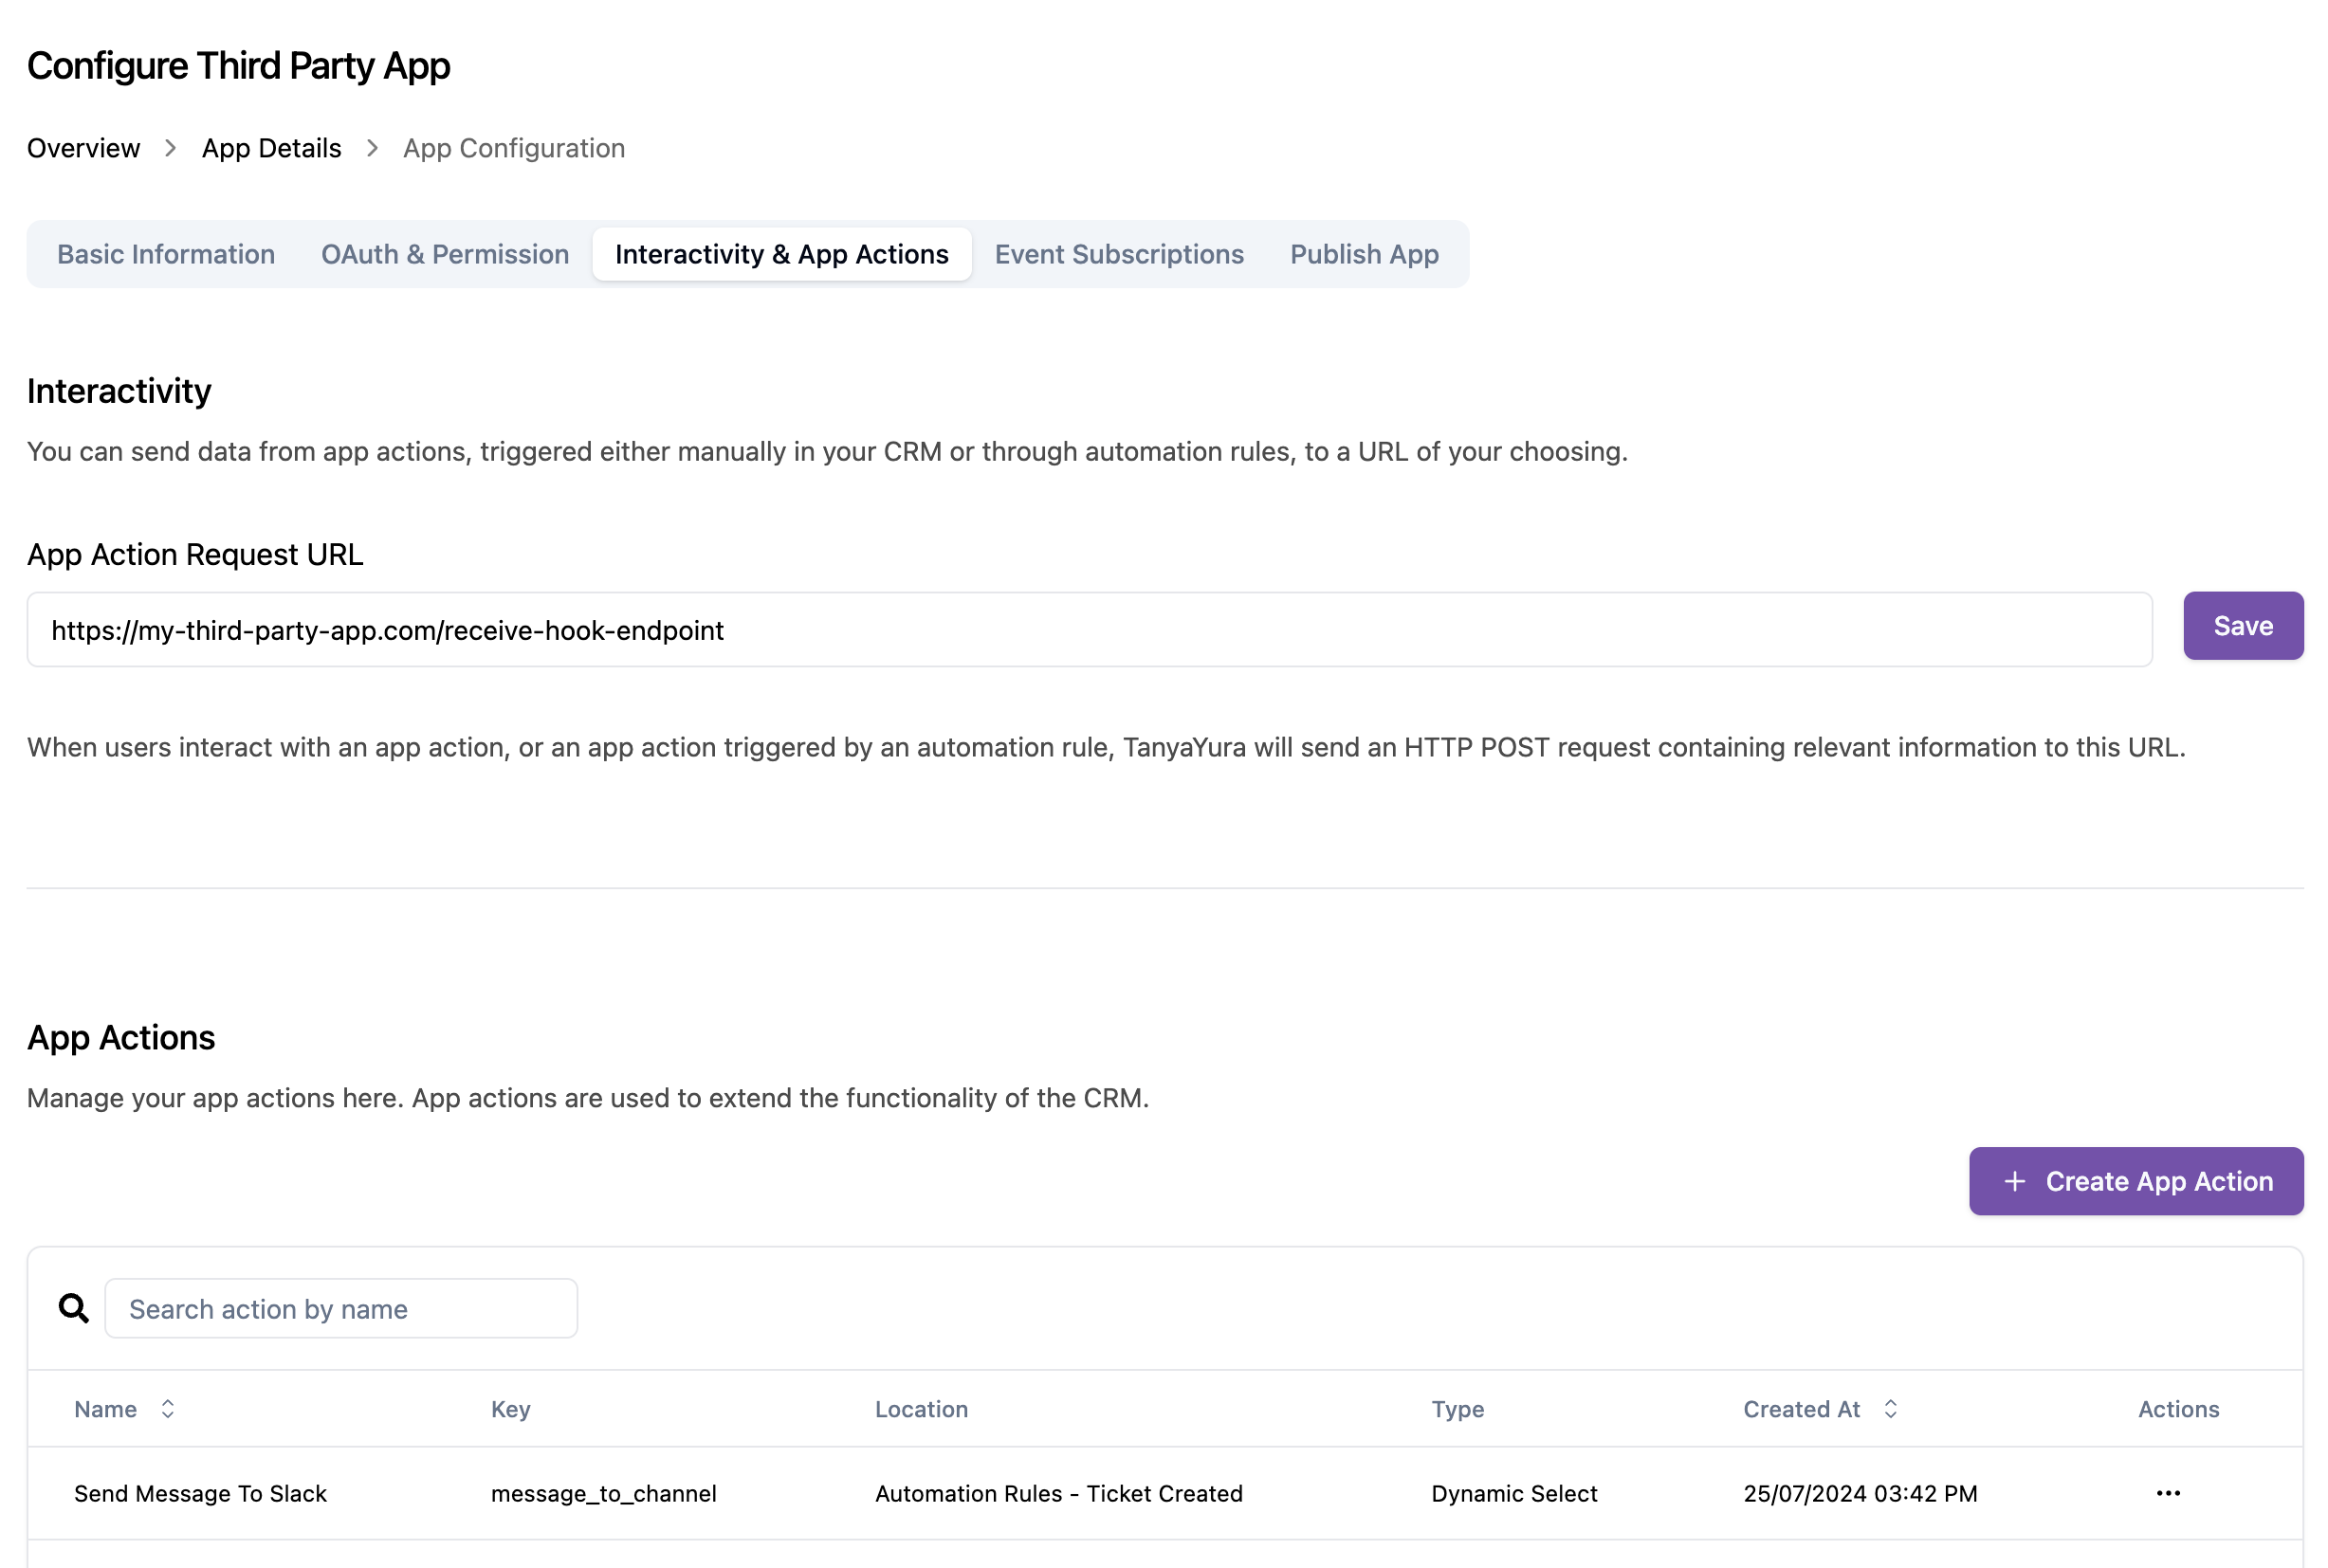
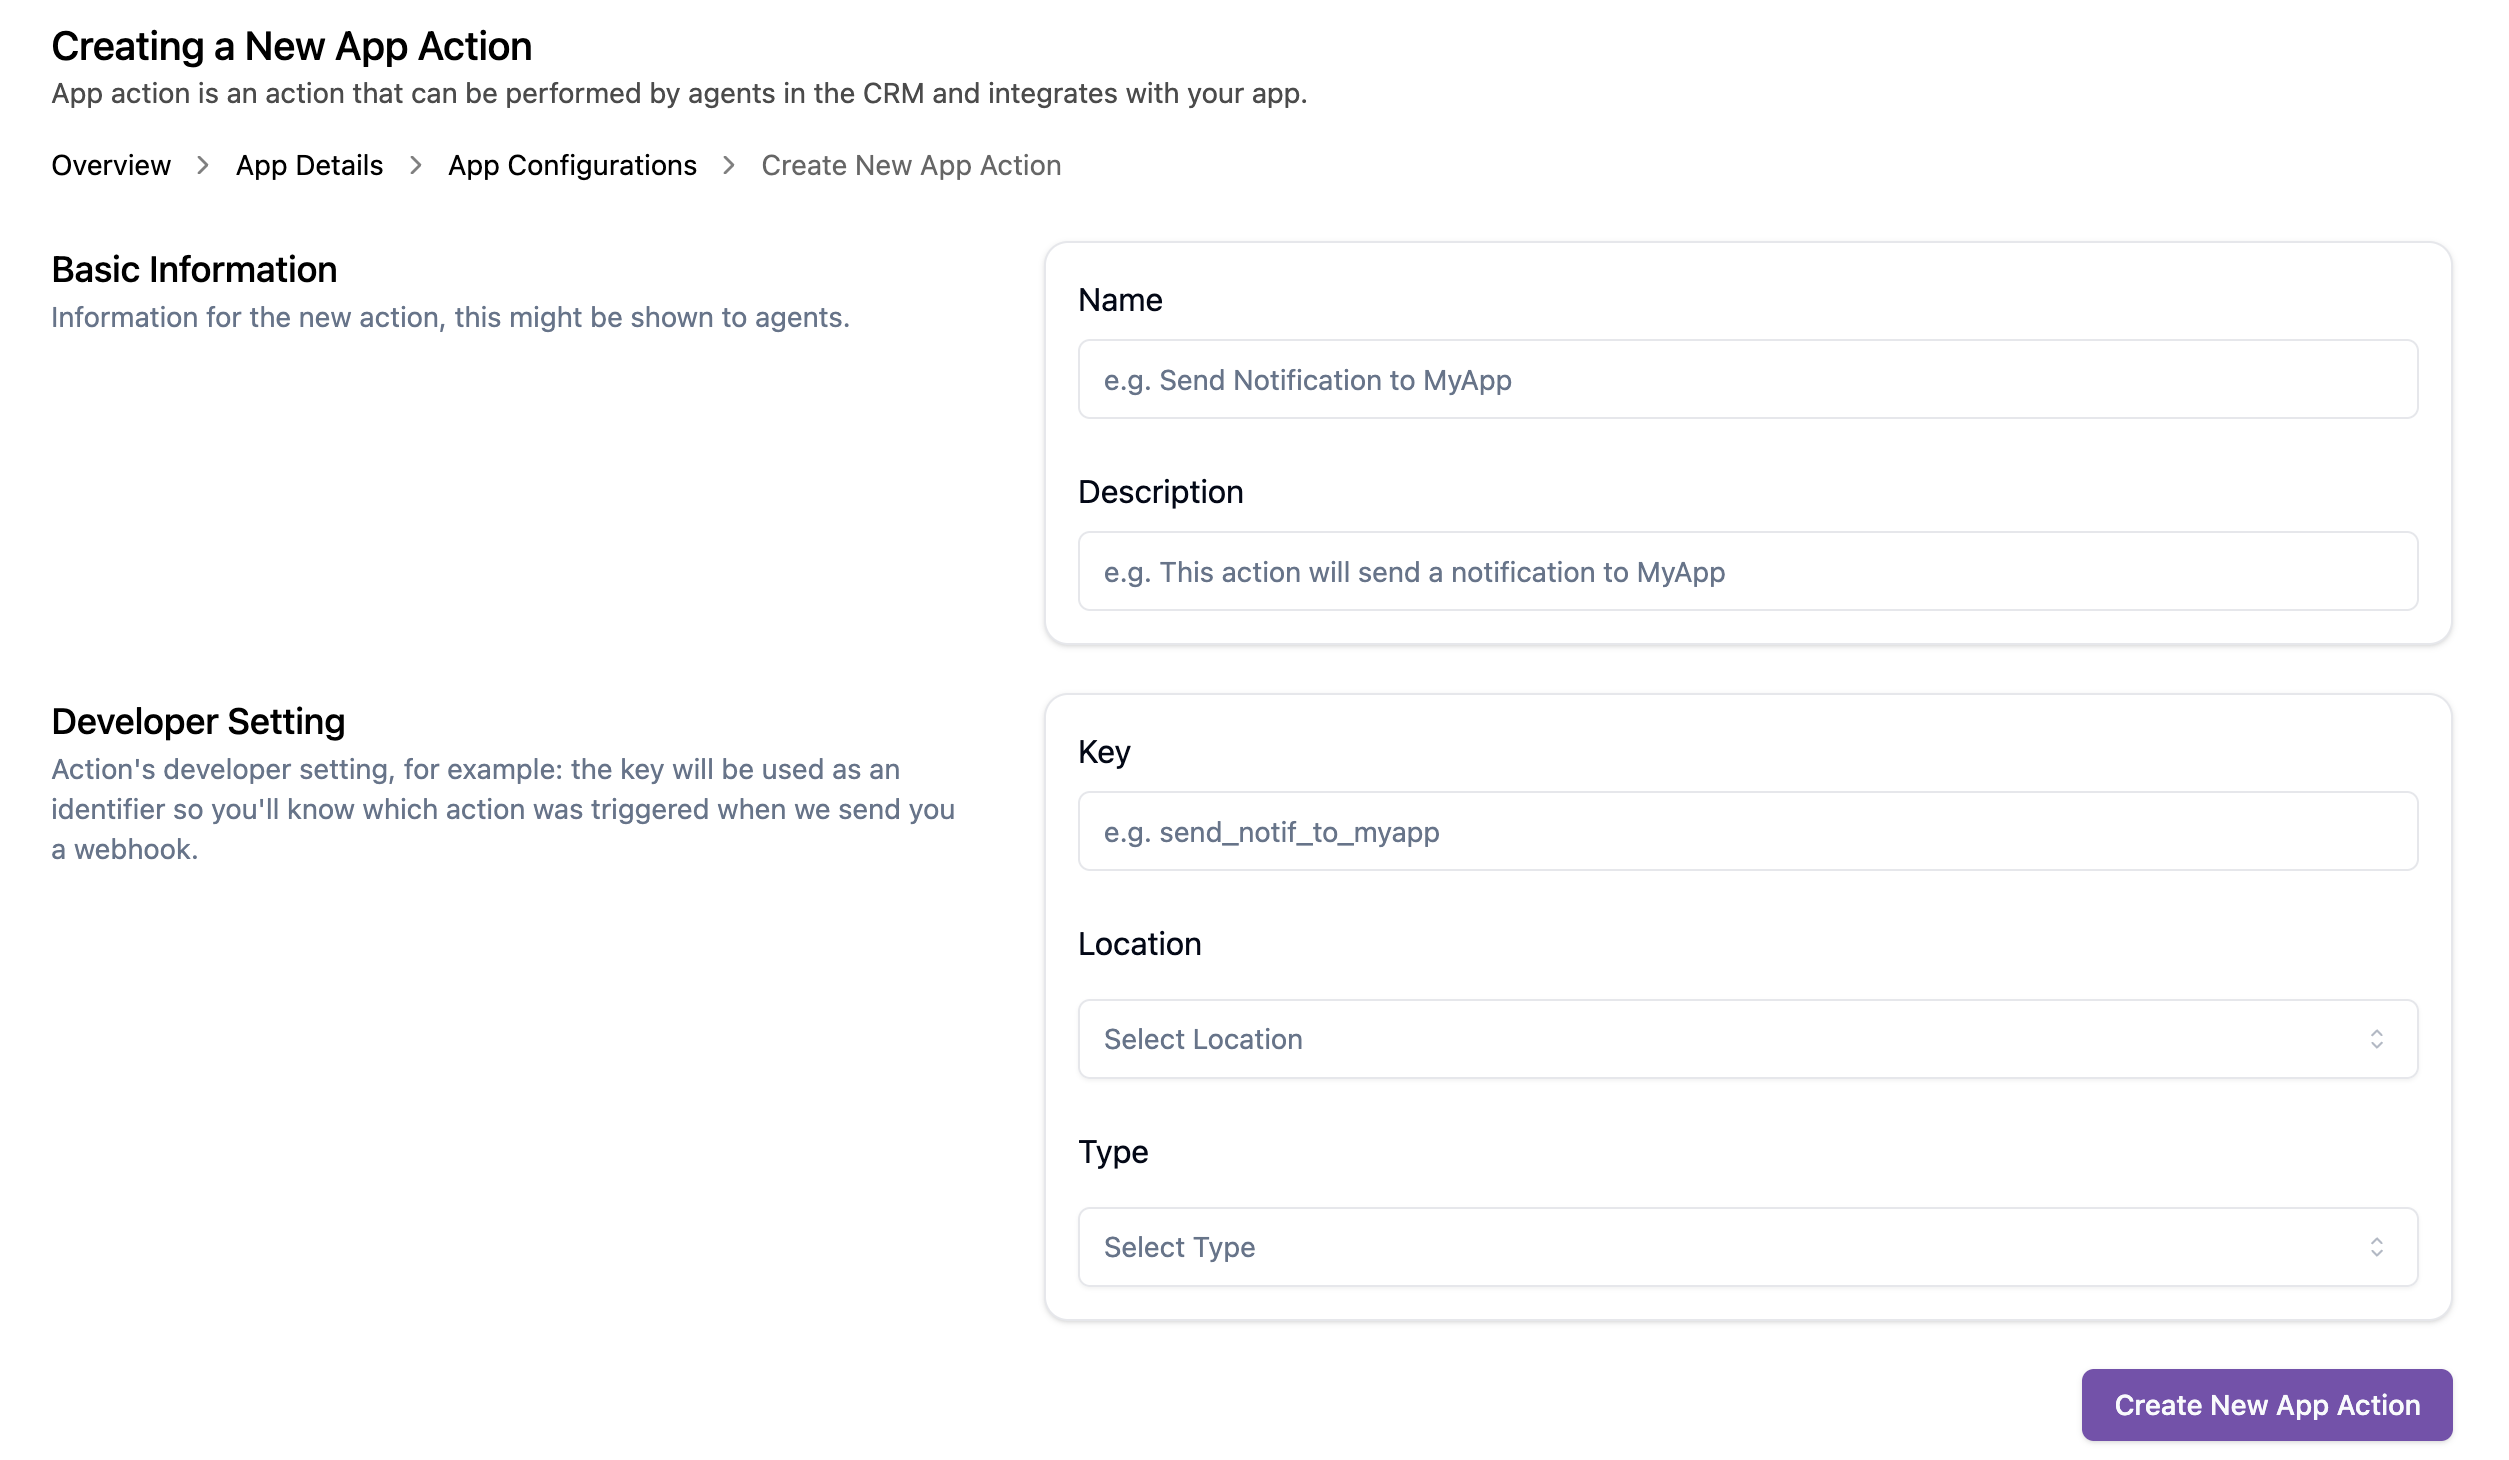
The Interactivity & App Actions tab lets your app receive data when agents interact with custom actions, or when automation rules trigger them. This is optional, only configure it if your integration needs to respond to CRM-initiated actions.
Where to set it: your app → Interactivity & App Actions tab.
Set the HTTPS endpoint on your backend that will receive HTTP POST requests when an app action is triggered, either manually by an agent or via an automation rule.
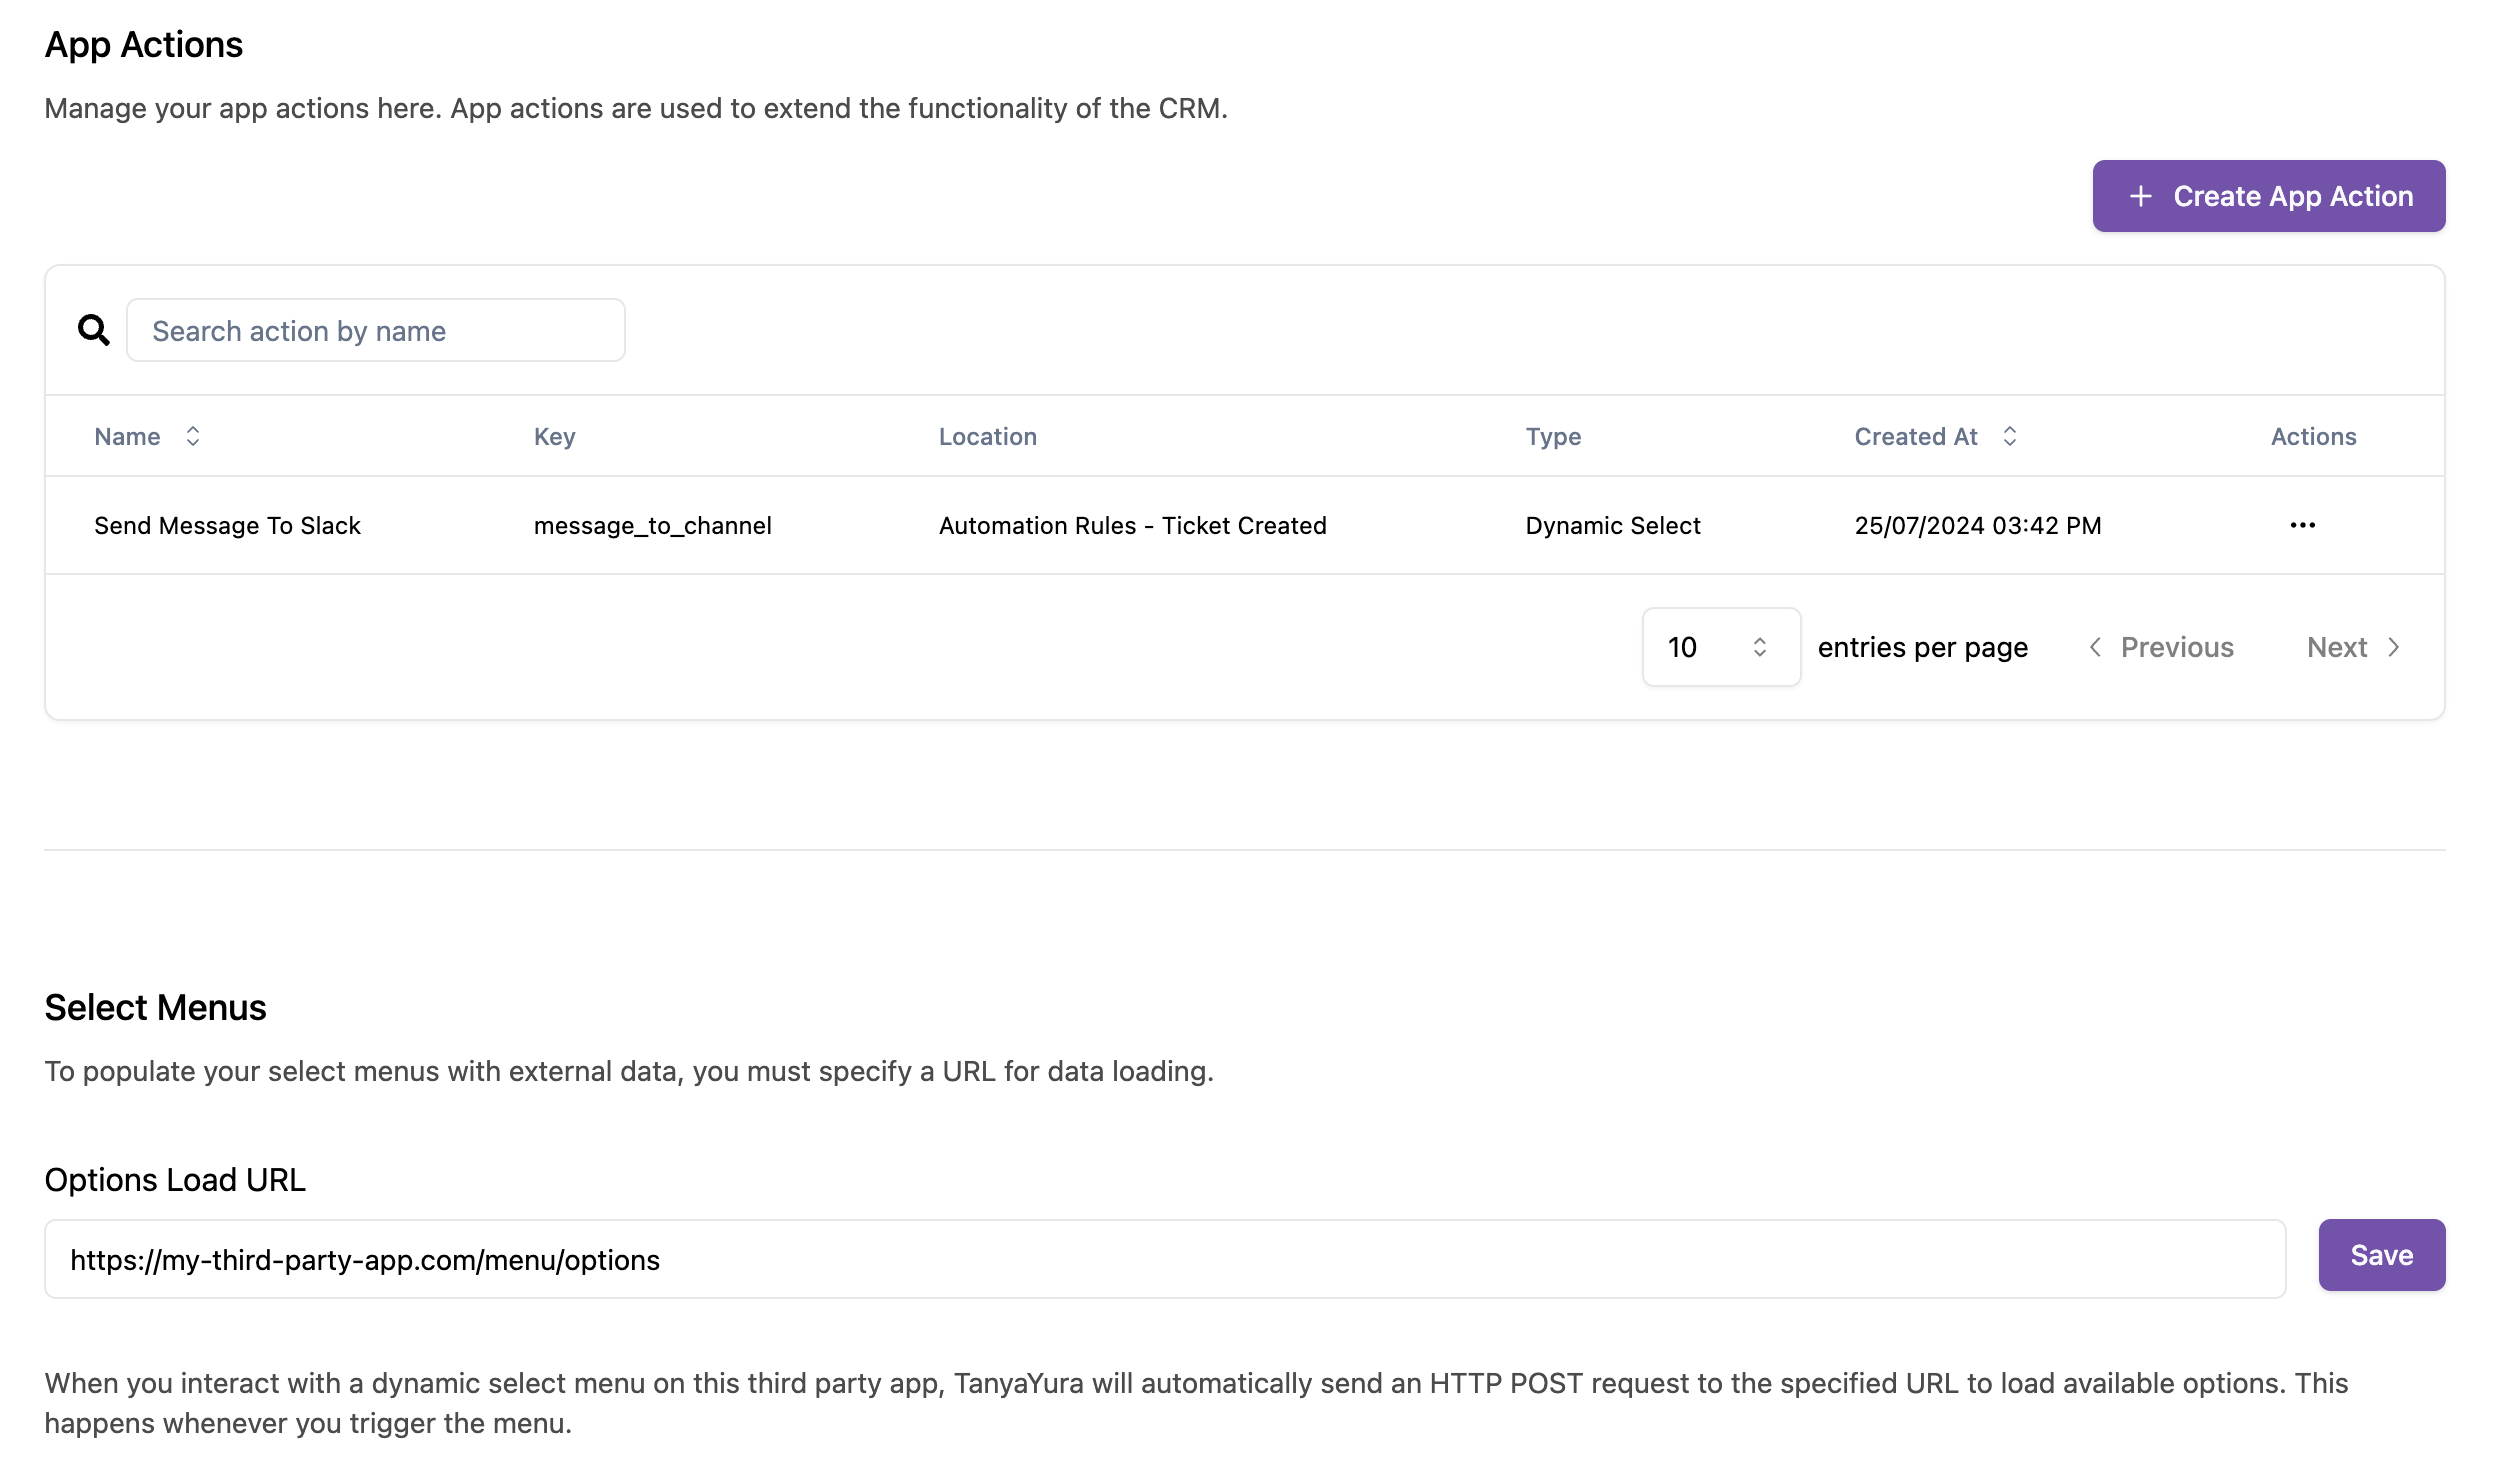
If any of your app actions use a Dynamic Select type, the CRM needs to know where to fetch the options from. Set the Options Load URL, the CRM will POST to this URL whenever an agent opens a dynamic select menu for your app.
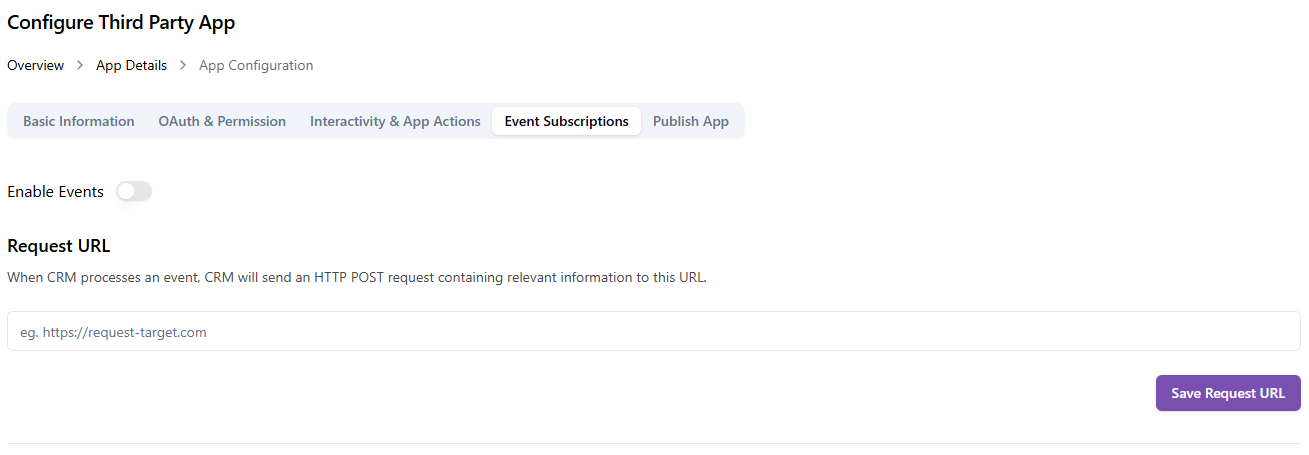
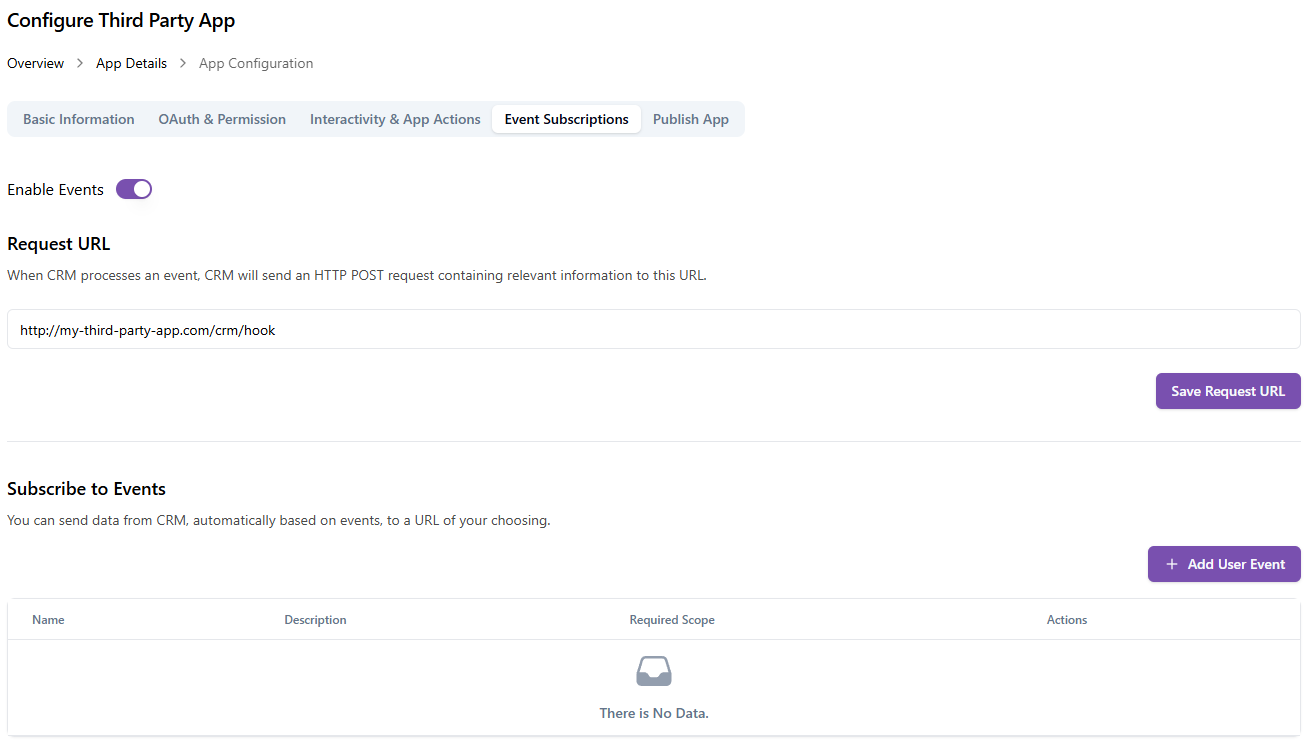
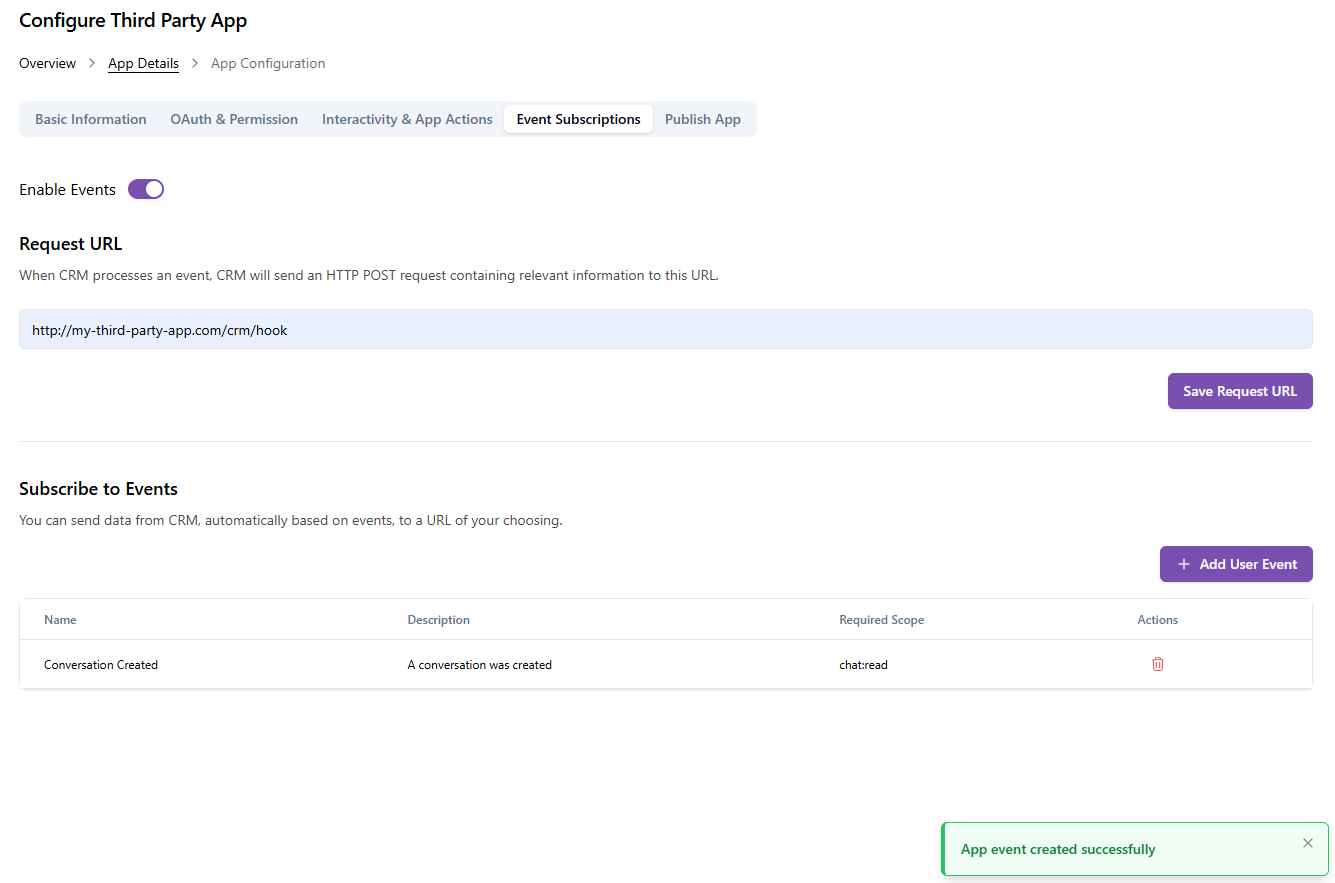
Webhook event subscriptions tell the CRM where to send notifications when activities occur in a workspace. This is how your third-party app learns about and decides to respond to various activities within the CRM.
Where to set it: your app → Event Subscriptions tab.
This is the HTTPS endpoint on your backend that receives CRM webhook event payloads. The field is labelled Request URL:
https://your-3pa.app/webhooks/crm/events
All subscribed webhook events from all installed workspaces are delivered to this single URL. Each webhook event's data object always includes a workspace_id so you can route to the correct workspace.
Requirements:
Must be HTTPS.
Must return HTTP 200 within a reasonable timeout (aim for < 5 seconds). Return 200 immediately after queuing the webhook event if your processing is slow.
Must be publicly reachable from the CRM servers.
Development tip: Use ngrok or a similar tunnel to expose your local server during development:
ngrok http 8000# Then set Request URL to https://abc123.ngrok.io/webhooks/crm/events
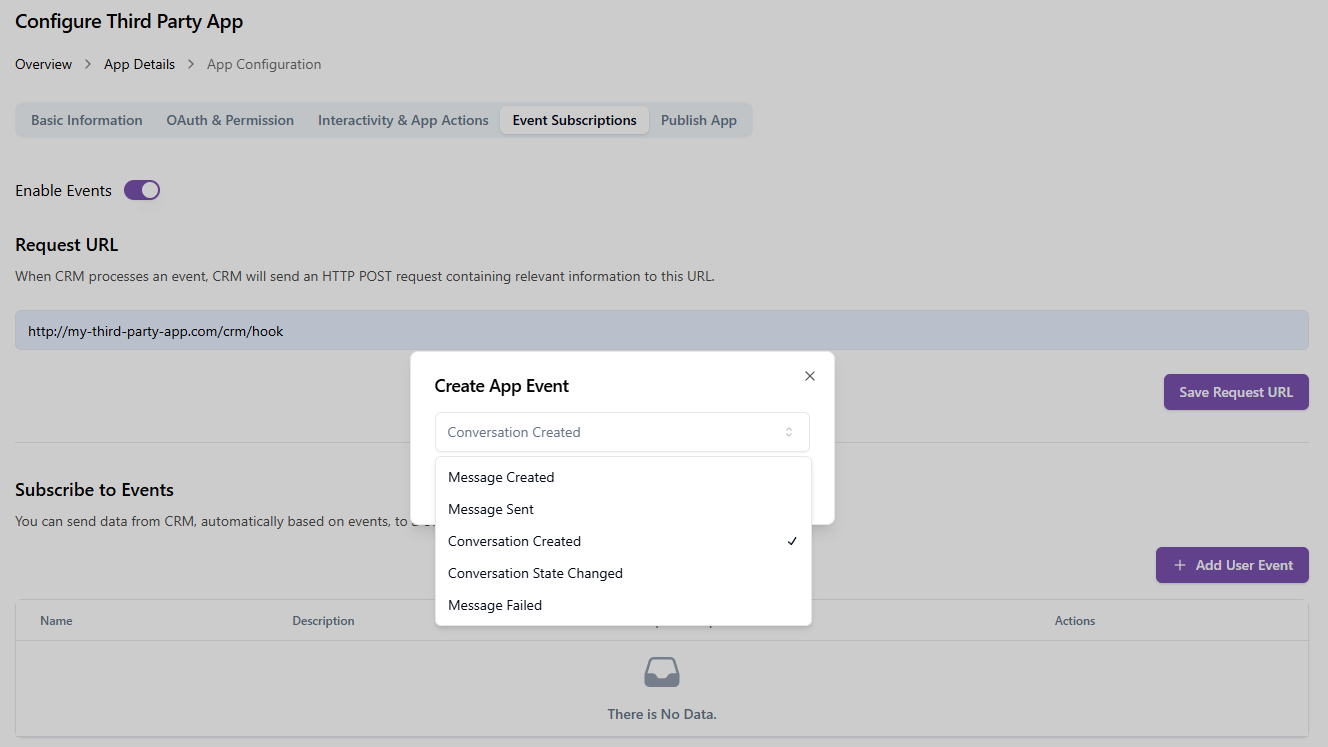
Click "Add User Event" to subscribe to webhook events. Which webhook events you need depends on your integration type. You can check the webhook events documentation to see what webhook events you might need. For a chat channel integration, see Outgoing Message Flow.